When it comes to frustrations, we know that commercial real estate brokers and firms have limited time and resources to create well-composed photos. We get it. They come to us often with questions about the best way to photograph their space to appeal to their target audience.
So, in the interests of relieving all frustrations in a nonviolent manner, we decided to come up with some hacks to help when composing a photo.
By using these tips, hopefully, your next smartphone shot will come out looking sleek, (almost) pro, and fantastic. Or, at least not fantastically bad, which is an improvement! (We kid, we kid. Kind of.)
Tip 1: Reduce the Clutter
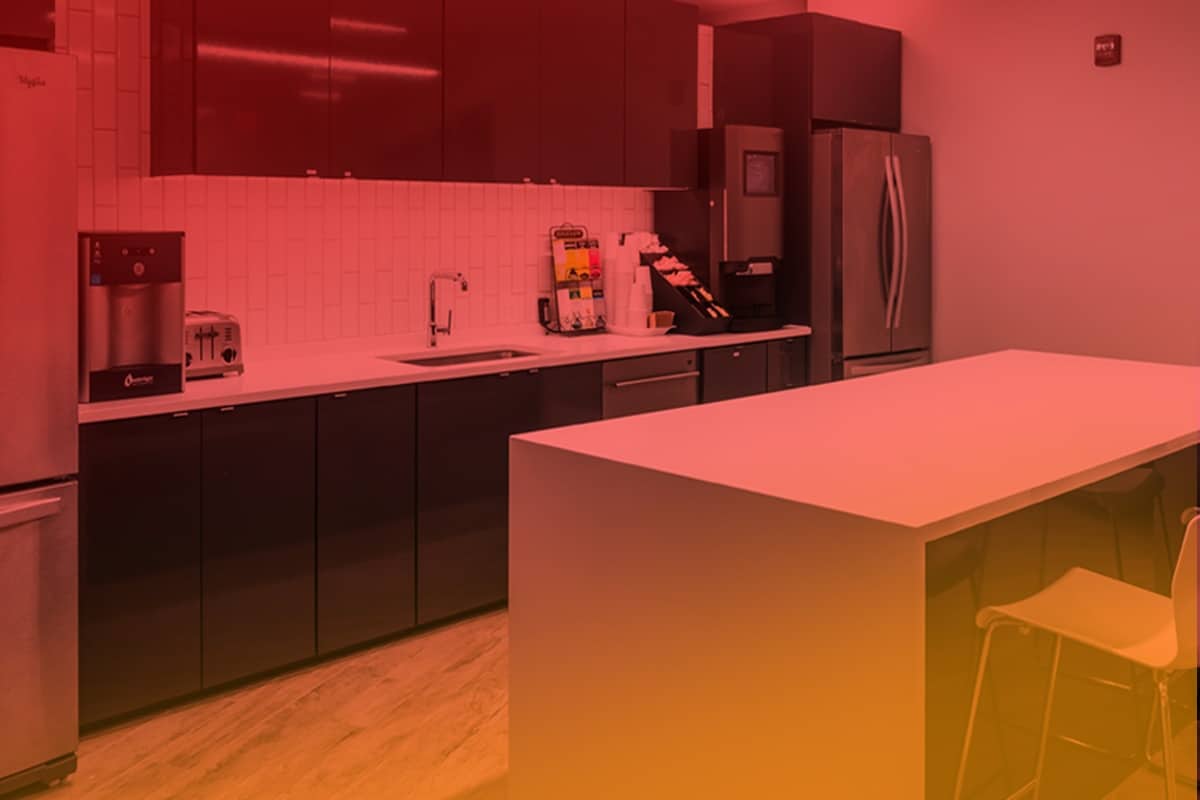
To compose a quality photograph, you need to look around the space and eliminate clutter. Clutter is ugly and distracting. Clean it up a bit, make space look pristine and valuable. Put yourself in a tenant’s shoes. Will they want to lease this space in the condition it’s in?


Tip 2: Details Matter
If you’re photographing a coworking space, for example, make sure all the chairs are tucked in and any name brand items on the desk are put away or removed. Tidy any items that are left out and visible. You’ll also want to be mindful of the littlest details like are the outlets open on the conference table or are the chords for the blinds hanging nicely.


Tip 3: You Need Good Light
This is super important. Natural light, such as light from a window, works best. Note: This does not mean use direct sunlight or turn all the fluorescents on. Fluorescent light is far from natural! Finally, when there is fluorescent or any light the emits a blue or yellow temperature, understand that some level of editing will be involved post-shoot.


Tip 4: Shoot at the Right Time of Day
If you shoot midday, you’ll get very bright and contrasting images, which can look harsh. Instead, shoot early in the morning or late in the afternoon, and you’ll get quality images with more accurate color. Yes, this also applies when shooting photos inside your spaces — think: windows.

Tip 5: Watch Out for Windows
Smile, you’re on candid camera! Whoops. When snapping photos of your space, make sure that you don’t see your reflection (or anyone else) in a window, a glass door, or in any nearby mirrors. Look around you before snapping, and make sure you aren’t making any surprise appearances in the shot.

Tip 6: Change Up the Orientation
As designers, we like to have options to work with when promoting your space. For example, if you want a vertical brochure and the space photos are all horizontal, they will have to be cropped in a way that makes sense for the piece we’re designing. So taking both horizontal and vertical shots should always be top of mind, so that there is more than one view to choose from.
Tip 7: Take Note Of Vantage Point
This is another thing you may want to change as you go, so it’s important to give your designer or social media team options for promoting your properties. Take photos of your space from the bottom up and top down, at a wide angle and close up, and left to right and right to left. Take multiple shots from many angles so that all your materials can be designed to represent the space in the best way possible.


Tip 8: Ditch the Amateur Fish Eye
There’s nothing harder to edit or use in design than images shot with a fisheye lens. This type of lens literally skews the space and distorts the image from reality. If you really want a shot of a large space from a wide angle, we suggest hiring a professional property photographer who uses a “wide-angle” lens to help. Hint: Do not use a fisheye app on your phone!

BONUS ITEMS: For those of you looking to perfect with the tools — ahem, your smartphone, here are two quick tips.
Tip 9: Use Your Smartphone Camera Grid
These next two tips are slightly more techie, but both can be a huge (and crucial) asset in composing quality photos. First, it’s important to make sure everything is level in your image for it to look great. We like to practice the “rule of thirds” here.
The rule of thirds is simple. It decrees that the most important content to make up your image is not centered (as you typically might think) but is set off to the right or left a bit. This draws the viewer’s eye to the total composition, instead of them just glancing at the center. So, turn your grid settings on!
Here’s how to do it:
- Go to settings
- Scroll down to camera
- Click on camera
- Find grid, then slide it to the on position (or until it turns green)
Tip 10: Play with the AE/AF LOCK
This is another advanced tip to assist in creating quality images with less than stellar lighting conditions, by using the AE/AF Lock. AE stands for auto exposure. AF stands for autofocus. This features allows you to control the “exposure”, or how much light is let in through the lens. This gives you a more robust control of the lighting situation for your space, which makes a better photo result.
To activate this feature:
- Press and hold one finger down on your iPhone screen
- You will see a yellow square appear on your image
- Release your finger with the yellow square remaining
- To the right of the square will be a sunshine icon
- Slide it up and down with your finger to adjust before you take your photo
We hope you find these tips useful, and we really can’t wait to see your new and improved photo skills in action! (Disclaimer: All tips given with the utmost love, dear clients. We promise. Nothing but love.)
A shout out to Brett Ludeke for the pristine property photos and editing demonstrated as the “To-Do” images.